methi thepla recipe
Learn to make delicious and flavorful Thepla with my easy recipe! This Western Indian flatbread combines whole wheat flour, millet flours, spices, and herbs. Add fenugreek leaves (methi) for extra taste and nutrition, or make them plain for a simpler version. Perfect for a wholesome meal or snack

About Thepla
Thepla is a whole wheat flat bread, prepared with spices and is originally from Gujarat. It is commonly eaten in Gujarati homes today, and is usually relished with aam ka chunda (mango preserve), a mango pickle or with simple curds. Due to the spices that enhance the flavor of Thepla, it can be taken alone or taken with masala chai or as a filler when immersed with other dishes.
According to the guidelines of adaptation of traditional Gujarati meal, Thepla has always been a good travelling food as it can sustain for several days even at the normal temperature.
The basic recipes for preparing Thepla are as close to chapatis – flour made from wheat, turmeric, red chili powder, salt, and oil as it gets, but there are so many options to deviate from this path. It can include millet flours CN Substitutes like bajra, jowar, gram flour, besan; Vegetables which include methi, bottle gourd, radish; and condiments like ginger, garlic, curd.
Being healthy food, thepla can be taken at breakfast, as a snack or main meal at dinner. It is also ideal for packed snacks for school going kids and adults going to work.
Pro Tips for Making Perfect Theplas
• Incorporate Millets: Enhance nutrition by using bajra (pearl millet) or jowar (sorghum) flour.
• Add Besan: Gram flour boosts flavor and protein content.
• Use Curd or Yogurt: This makes the theplas softer, especially when combined with millet flour and besan. However, curd shortens shelf life, so consume within 5–6 hours at room temperature.
• Avoid Hard Theplas: Millet flour and besan can make theplas slightly firm. Counter this by using sufficient oil and curd.
• Knead and Rest: Knead the dough thoroughly and let it rest for at least 20 minutes to ensure soft and pliable theplas.
Enjoy Thepla anytime as a wholesome, flavorful addition to your meals or snacks!

How to Make Thepla
Step 1: Prepare Methi Leaves (Optional)
- And for preparing this recipe, incorporate 1 to 1½ cups of methi leaves.. If making plain Theplas the next step should not be carried out but if making flavoured Theplas go to the next step.• Trim the methi leaves and exclude the stems.ipe. Skip this step if making plain Theplas.
• Pluck the methi leaves and discard the stalks. It is recommended that the leaves be rinsed a few times.• Rinsing the lettuce leaves with vinegar and salt and soaking for some time before rinsing it again.• Shift the water using a colander and cut the Methi leaves very finely into small pieces.• Combine 1½ cups wheat flour with ¼ cup bajra flour (any other millet flour if preferred).• While preparing the video version, for the dough only atta (wheat flour) and besan (gram flour) were incorporated.• If the Theplas are not meant to be eaten immediately, then you replace bajra and besan with atta in order to get a better shelf life.scard the stalks. Rinse the leaves thoroughly a few times.
• Sprinkle vinegar and salt over the leaves, let them sit for a while, and rinse again.
• Drain the water completely using a colander and chop the methi leaves finely.
Step 2: Mix the Flours
• Add 1½ cups of wheat flour and ¼ cup of bajra flour (or any other millet flour) to a mixing bowl.
• When preparing the video version, only atta (wheat flour) and besan (gram flour) were used.
• If the Theplas are not intended for immediate consumption, replace bajra and besan with atta to ensure a longer shelf life.
Please let me know if you’d like me to move on to the next steps or if you would also like photos to go along with this guide.

Step 3: Add Gram Flour (Besan)
• Add 3 to 4 tablespoons of gram flour (besan) to the bowl with the wheat flour and millet flour.
• This enhances the flavor and boosts the protein content of the Thepla.
Would you like to proceed to the next step?

Step 4: Add Easy and Fenugreek Leaves ; Spices•
Then take a mixing bowl and put the chopped methi (fenugreek leaves), along with the flours.• ½ to 1 teaspoon turmeric powder.• 1/2 to 1 teaspoons ground turmeric• 10 to 15 ml grated fresh ginger• 1 tsp ginger or ginger garlic paste preferably fresh the fresher the better• ¾ to 1 chopped onion• 1½ teaspoons carom seeds (ajwain) (optional): I never add it because the smell of this ingredient is really strong and I don’t like it at all.ansfer the chopped fenugreek leaves (methi) into the mixing bowl with the flours.
• Add the following spices and seasonings:
• ½ to 1 teaspoon red chili powder
• ½ to 1 teaspoon turmeric powder
• ½ teaspoon salt
• ½ to 1 teaspoon garam masala
• 1 teaspoon grated ginger (or ginger-garlic paste)
• 1 to 2 chopped green chilies
• 1½ teaspoons carom seeds (ajwain) (optional)
Mix the ingredients well. Ready for the next step? Let me know!

- Some meat should be combined with others and all the ingredients should be mix under the following conditions; the spices, the herbs and the flours should mix well with others.• Add water gradually and mix by hand when it is needed to make it smooth or to a firm but sticky consistency.• The dough should have no shine.ne all the ingredients thoroughly, ensuring the spices, herbs, and flours are evenly mixed.
Step 7: Knead the Dough
• Gradually pour water as needed and knead the mixture into a soft, pliable dough.
• The dough should not be sticky. Incase it becomes very sticky add a little more flour.• Let the dough stand for at least 20 minutes so that it becomes less sticky and when rolling out the Theplas to give them the texture to hold the fillings properly.e evenly mixed.

Step 7: Knead the Dough
• Gradually pour water as needed and knead the mixture into a soft, pliable dough.
• The dough should not be sticky. Add a little more flour if it becomes too sticky.
• Rest the dough for at least 20 minutes to make it easier to roll and to enhance the texture of the Theplas.
Ready for the next step?

Step 7: Add Water and Knead the Dough
- Add water gradually and mix with your hands until you get a smooth, pliable, and non sticky dough.• Add one tablespoonful of oil to the dough and mix it through to make it smoother.• If you are avoiding or skipping besan and bajra flour, you can definitely try to minimize the usage of oil.• Make a few spots applying of oil to the dough surface in order that the dough does not dry.• After that leave the dough to rest covered for 20 minutes.• After that put the batter aside to set and when rested, you can taste a small amount of dough to ensure you have the right amount of salt.s needed and knead into a soft, non-sticky dough.

Step 8: Add Oil and Knead Again
• Pour 1 tablespoon of oil over the dough and knead it well for a smoother texture.
• If you are skipping besan and bajra flour, you can reduce the quantity of oil.

Step 9: Rest the Dough
• Smear a few drops of oil over the dough to prevent it from drying.
• Cover the dough and let it rest for 20 minutes.
• After resting, taste a small piece of dough to check the salt. If more is required mix some more and knead for sometime.
Are you interested to proceed to the next stages/rolls and cooking stages?

Step 10: Divide the Dough
• After resting, divide the dough into 8 equal portions and shape them into smooth balls.
• Keep the balls covered with a damp cloth to prevent them from drying out.
Ready for the rolling instructions? Let me know!

Step 11: Flatten and Dust
• Lightly dust your rolling surface and a dough ball with wheat flour.
• Gently flatten the ball with your fingers.

Step 12: Roll the Thepla
• Roll the dough into a thin circle. Avoid making it too thick or too thin for the best texture.
• If using bajra, jowar flour, or extra fenugreek leaves, the edges might turn uneven. To achieve perfectly round Theplas, you can use a lid to cut them into shape if desired.
• Roll about 5 Theplas and place them on the counter. Continue rolling the rest while you toast the first batch.

Step 14: Toast the Thepla
• Heat a tawa or griddle over medium-high heat until hot.
• Dust off any excess flour from a rolled Thepla and place it on the hot tawa.
Would you like the instructions for flipping and cooking?

15. Cook until small bubbles begin to form. Flip it over and press gently with a spatula to ensure even cooking. Keep the pan hot and the flame at medium-high.

16. Flip the theplas back and forth, cooking them until golden or brown spots appear. Lightly drizzle 1/2 teaspoon of oil on each side.

17. Take the theplas off the pan and place them on a plate lined with a soft cotton cloth or kitchen paper. This will help retain their softness. If you don’t intend to eat them the same day, avoid stacking them, as the heat can cause moisture buildup.

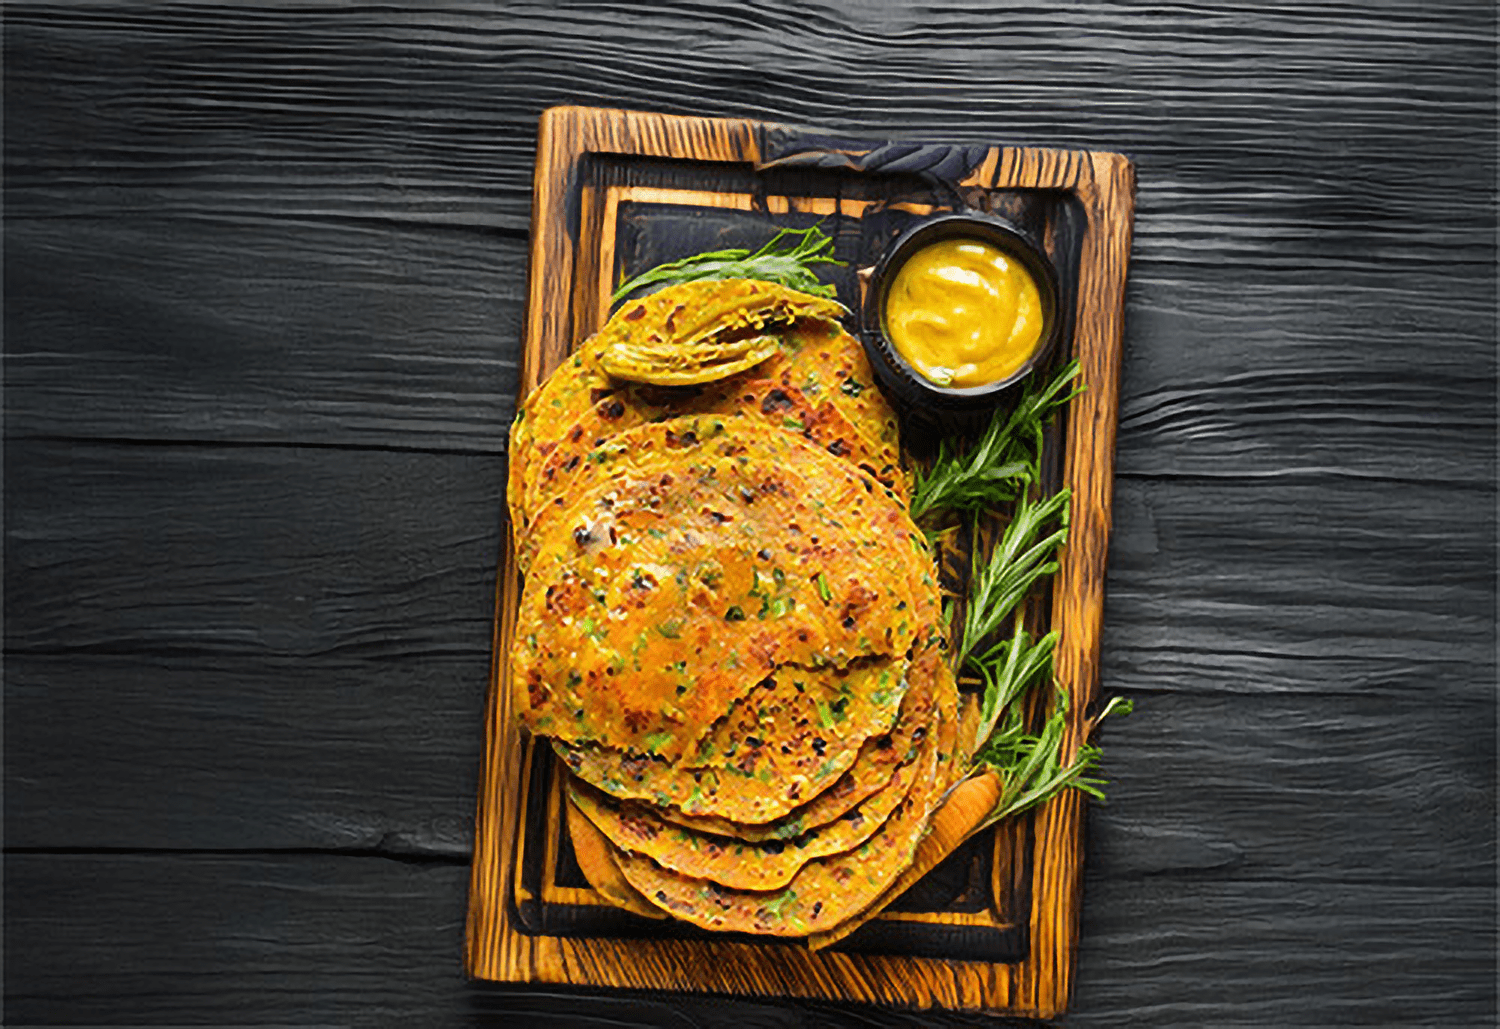
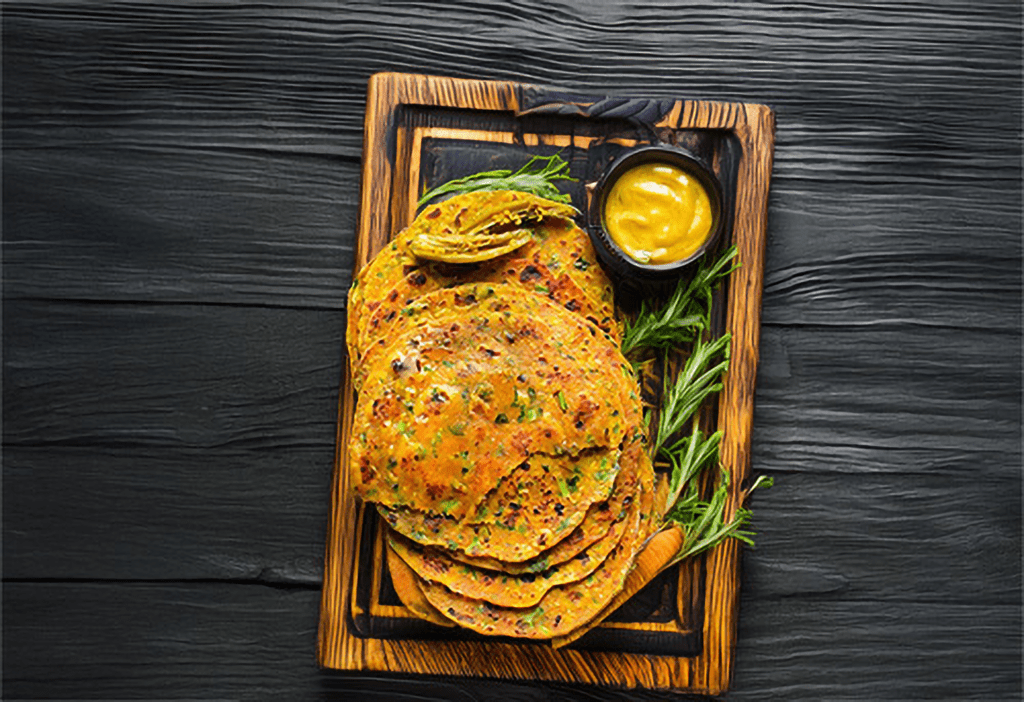
The theplas in the main pictures appear different in color because they were prepared on another occasion using bajra flour and extra red chili powder. Serve these theplas with curd, pickle, or aam ka chunda for a flavorful combination.

Variations
This post focuses on making methi thepla, but you can customize the recipe to create plain (sada), lauki, or mooli theplas with a few adjustments:
• Plain (Sada) Thepla: Omit millet flour, besan, methi leaves, and curd from the recipe.
• Lauki or Mooli Thepla: Substitute methi leaves with 1/2 cup of grated bottle gourd (lauki) or radish (mooli) for a flavorful twist.
vegan fried rice
Nutrition Facts
6 servings per container
- Amount Per ServingCalories242
- % Daily Value *
- Total Fat
6g
10%
- Saturated Fat g 0%
- Sodium 108mg 5%
- Potassium 310mg 9%
- Total Carbohydrate
40g
14%
- Dietary Fiber 9g 36%
- Protein 11g 22%
- Vitamin A 1%
- Vitamin C 2%
- Calcium 7%
- Iron 69%
* The % Daily Value tells you how much a nutrient in a serving of food contributes to a daily diet. 2,000 calories a day is used for general nutrition advice.


